Quick Start
Get up and running with Kythia Workspace in minutes.
This guide will get you from zero to a running local PHP + MySQL environment in under 5 minutes.
Step by step
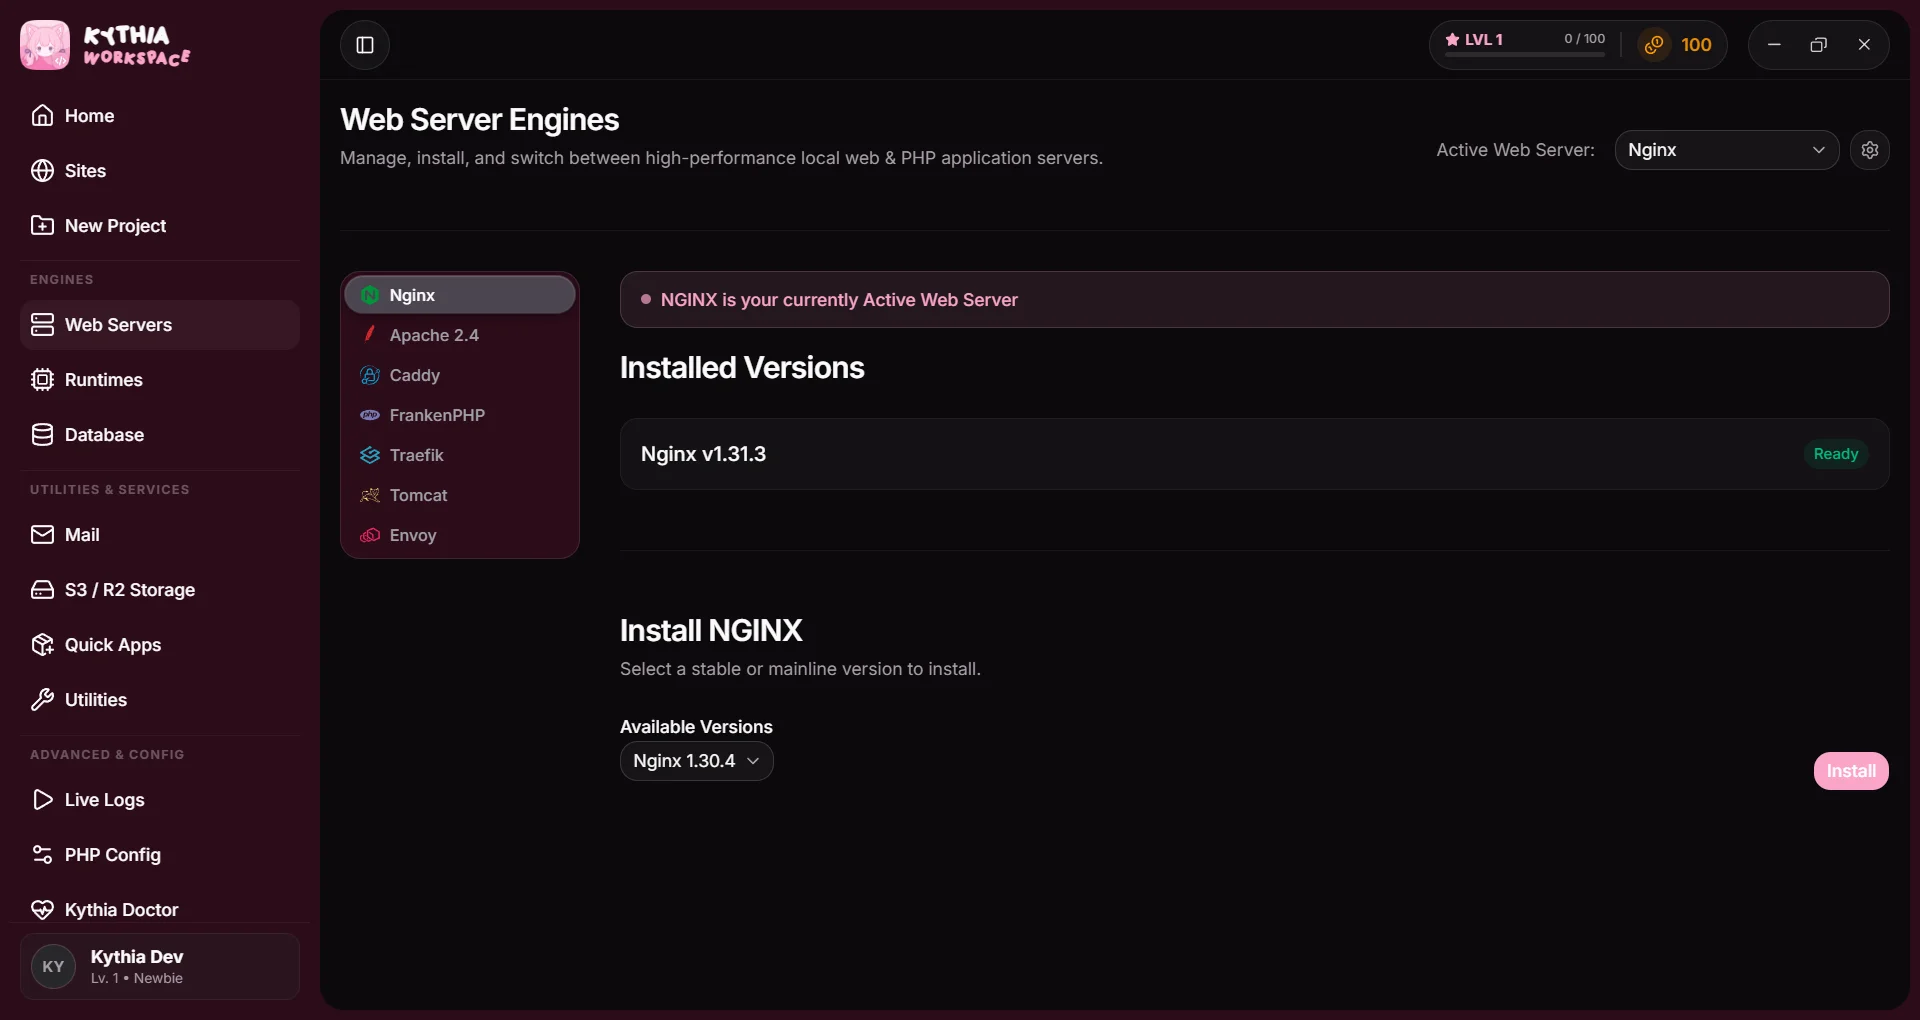
Install a Web Server
- Open Kythia Workspace
- Click Web Server in the sidebar
- Select Nginx (or Apache / Caddy if you prefer)
- Choose a version and click Install
Install PHP
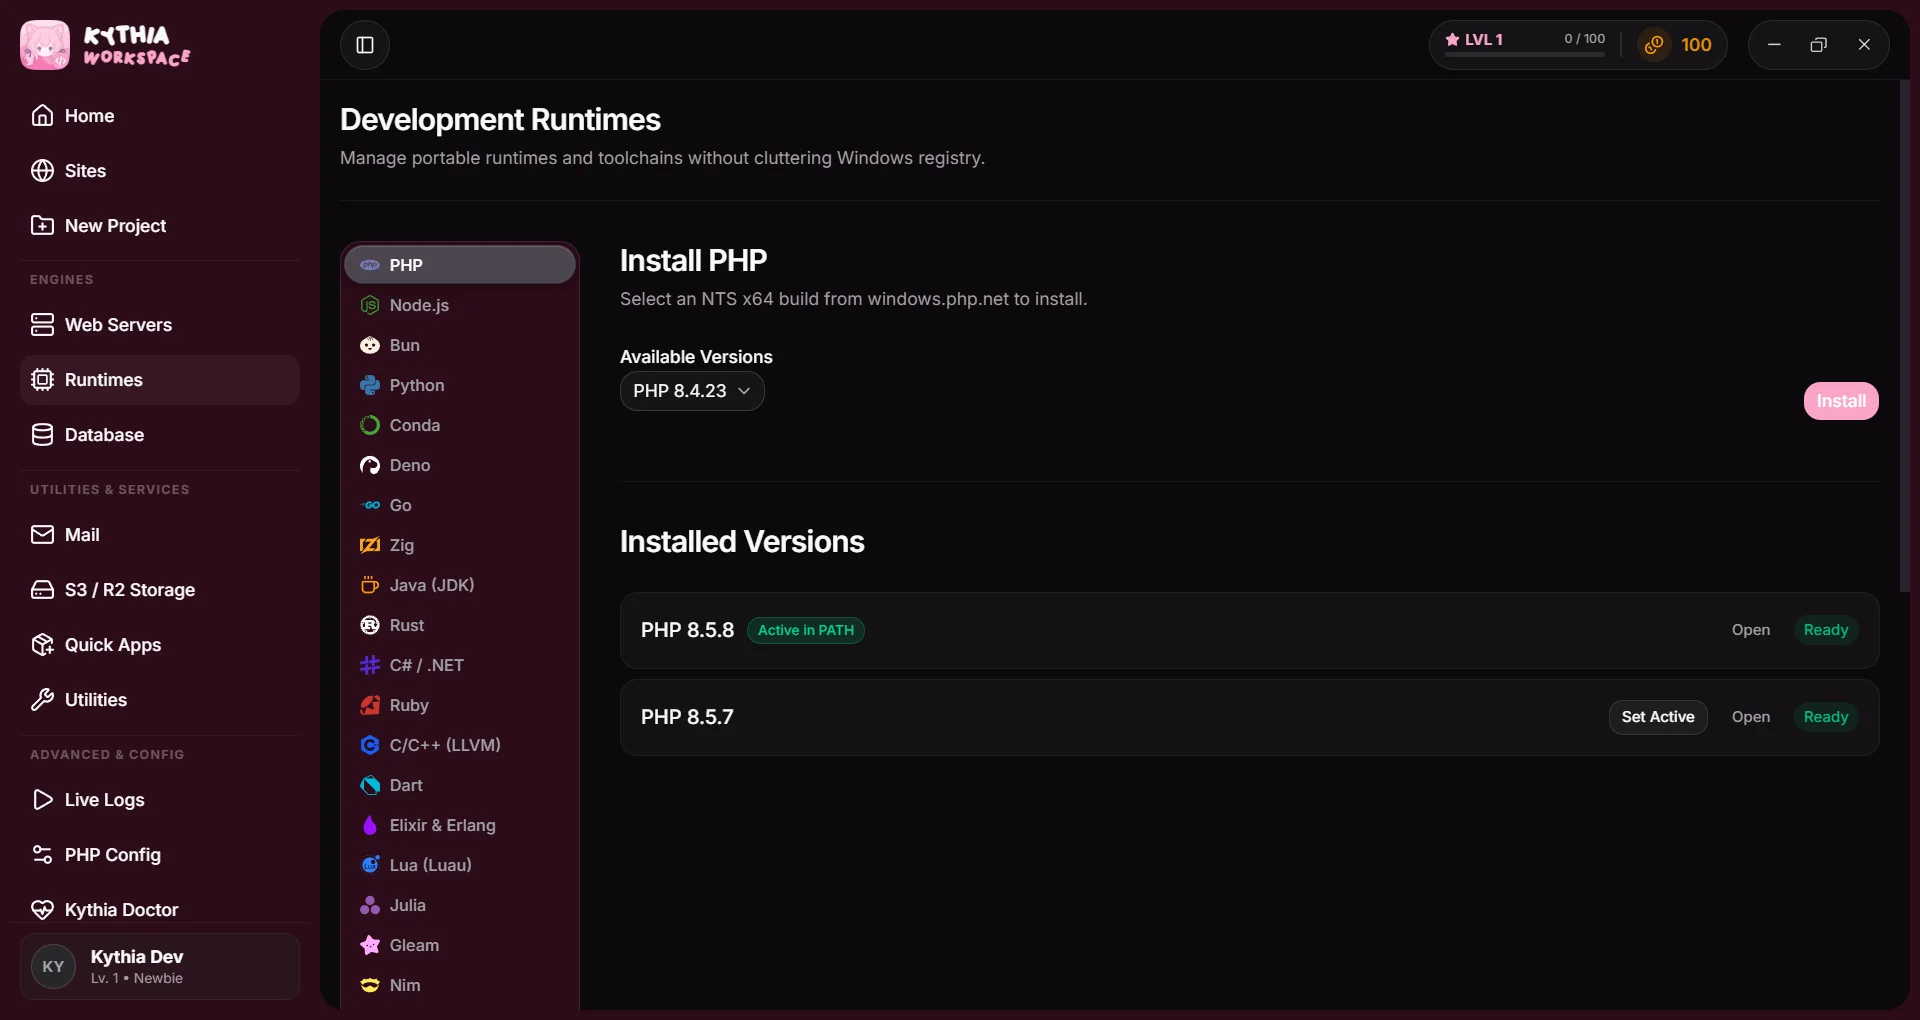
- Click Runtimes in the sidebar
- Select PHP
- Choose a version and click Install
PHP Tips
To use php in terminal, you just need to click set active to the php version you installed.
Install a Database
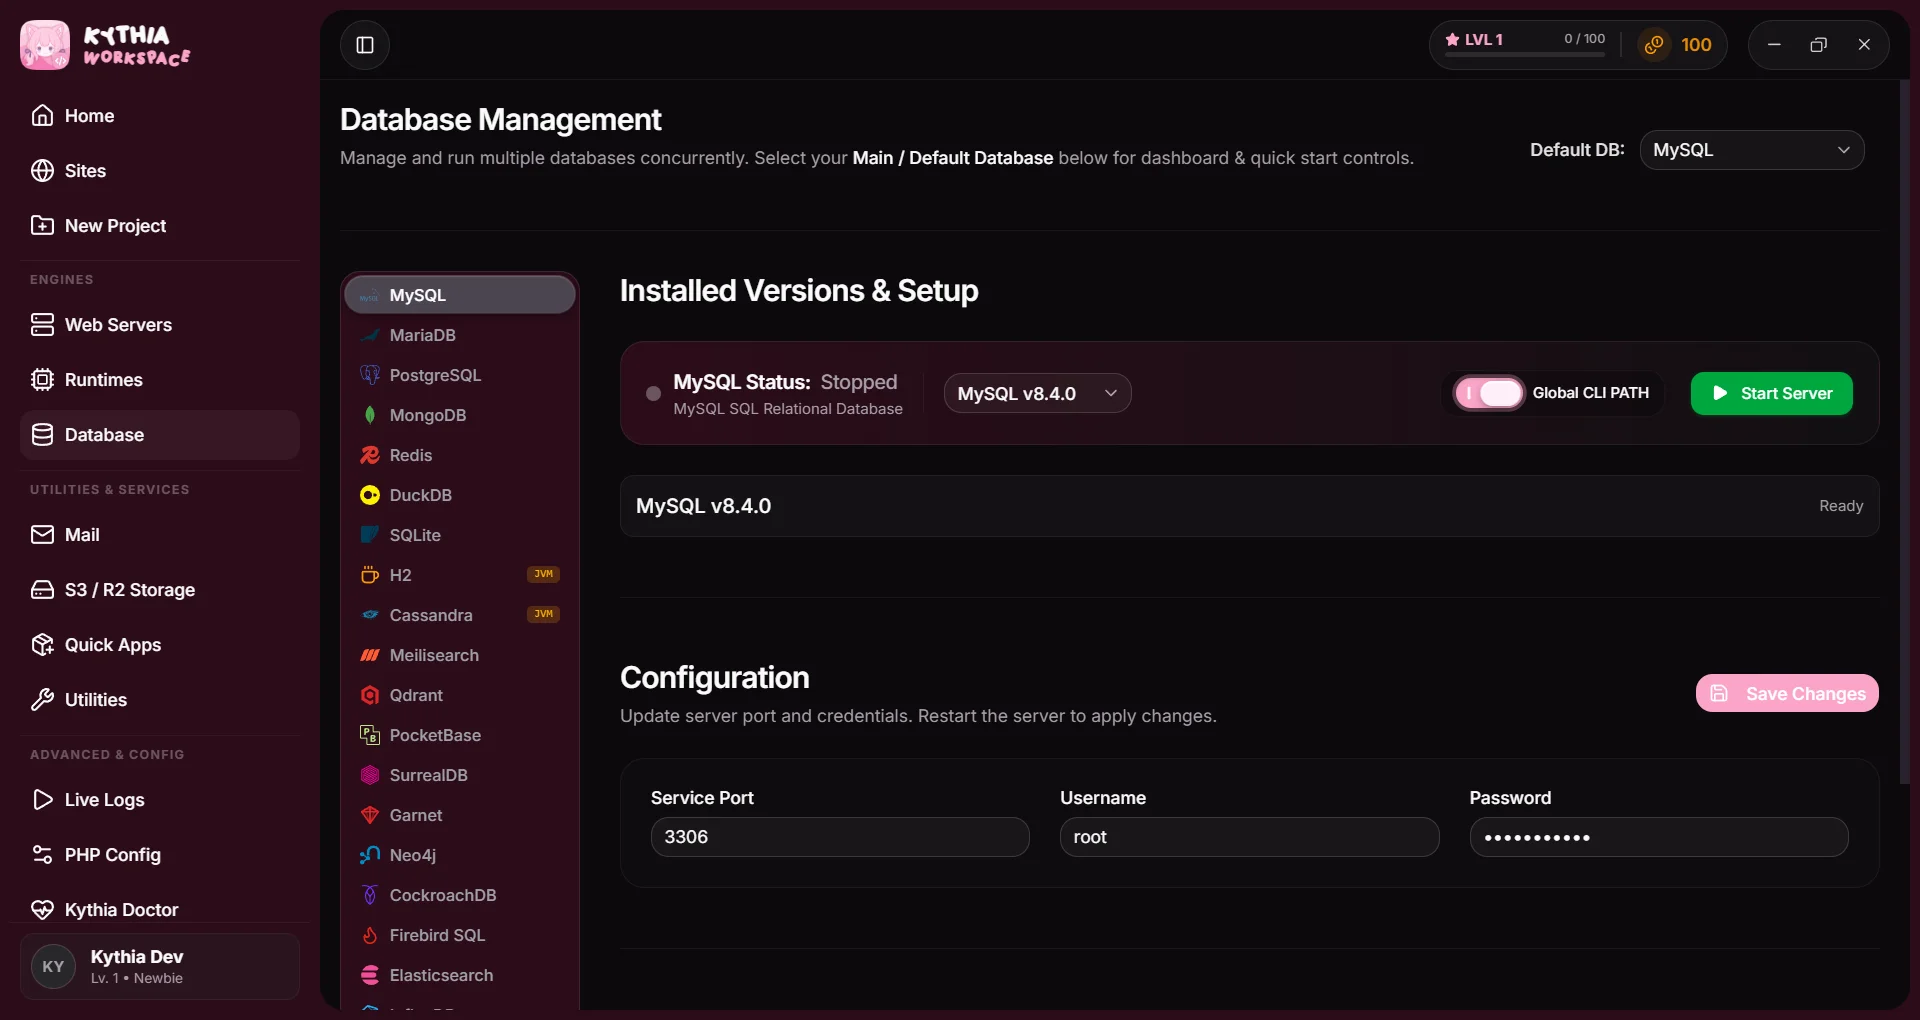
- Click Database in the sidebar
- Select MySQL or whatever you want, kythia have up to 19 databases, you will dizzy what to choose ~(>_<。)
- Click the Install button. After it finishes, you must click the Initialize Database button to create the initial data folder.
Note
If you are reinstalling and your previous database data still exists, this button will be automatically hidden because your data is still exist.
- Default credentials:
root/ (no password)
Database Tips
- Terminal Access: To use the database CLI (e.g.,
mysql) in your terminal, simply toggle the Global CLI PATH to on. - Default Database: You can set your primary database engine using the dropdown menu at the top right.
- Independent Execution: Unlike web servers (where only one can run at a time), databases can run independently alongside other services.
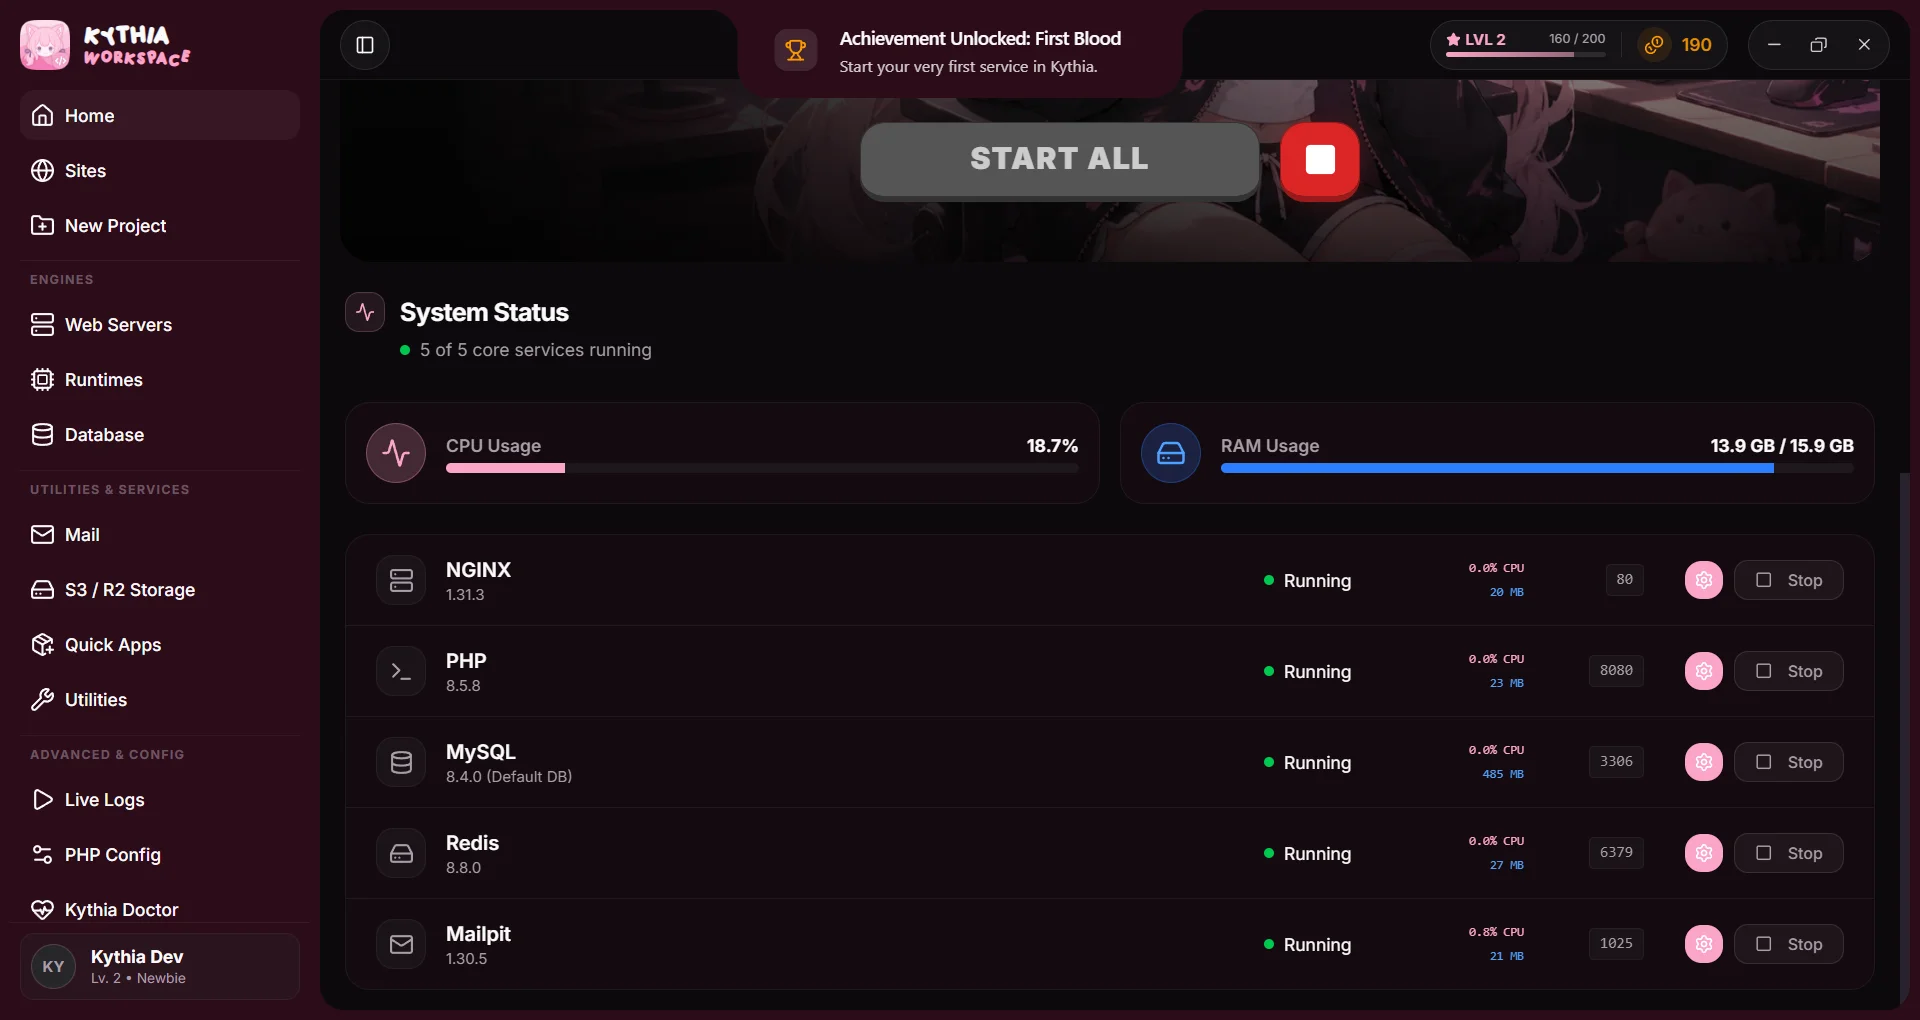
Start All Services
- Go back to Home in the sidebar to return to the dashboard.
- Click the Start All button.
- You're all set! Kythia will boot up your web server, PHP, and database simultaneously.
Tip
You can Start/Stop each service independently by clicking the Start/Stop button next to each service in the dashboard.
What's next?
- Create your first local site — Learn how to set up custom local domains (like
myapp.test) for your projects. - Deploy with Quick Apps — Instantly install WordPress, Laravel, or other frameworks with one click.
- Master the CLI — Discover how to use Kythia's built-in global CLI for terminal commands.